 By Megan Maxwell
Traveling with a bike can be very stressful. First, you have to worry about booking tickets with an
airline that doesn’t overcharge for bikes. Then you have to disassemble your bike and hope that it arrives at your destination safely. There’s also a good chance that TSA will open the box and not bother to put things back correctly.
While some aspects of traveling are out of your control, you can still disassemble and package your bike to the best of your abilities.
What You Need:
- A bike box.
- Allen wrench/ hex key (for handlebars)
- Wrench (for seat post)
- Pedal wrench
- Duct tape
- Packaging materials
- Acquire Your Materials
Get everything that you need together. Stop at a local bike shop to get a box. They usually have boxes lying around that they will have to throw out anyway, and you can typically get one for free. For the packaging materials, Wal-Mart (or other similar stores) will have rolls of bubble wrap for just a few dollars. You can also get creative and use whatever you have lying around. The other unusual item is a pedal wrench. You can buy one for about $10. Put it in the box with the bike so you can put the pedals on when you arrive at your destination.
- Remove the Seatpost
Remove the seat post first. There will be a bolt on the frame of the bike by the seat post. Use the wrench to loosen the bolt, then slide the seat post up. It’s a good idea to put a piece of tape on the post to mark the height it should be. There’s no need to remove the seat from the seat post, unless you feel like adding an extra step to the process.
- Remove the Pedals
This will likely be the most physically difficult part. The pedals are usually on extremely tight. Use the pedal wrench to loosen them.
- Loosen the Brakes
Now it’s time to loosen the brake cables. Don’t mess with anything up by the handlebars. You can loosen the cables nears the brake pads by the wheels. Most bike brakes have a quick release that you can pull up.
- Remove the Handlebars
Use the allen wrench/ hex key to remove the handlebars. The screw that needs to be loosened is at the very top of the handlebar post. The handlebars will still be attached by cables, so you have to be careful. The idea is that with the handlebars semi-separated from the bike frame, they will fit more easily into the box.
- Remove the Front Tire
Now you can loosen and remove the front tire. It’s also a good idea to let a little bit of air out of the tires.

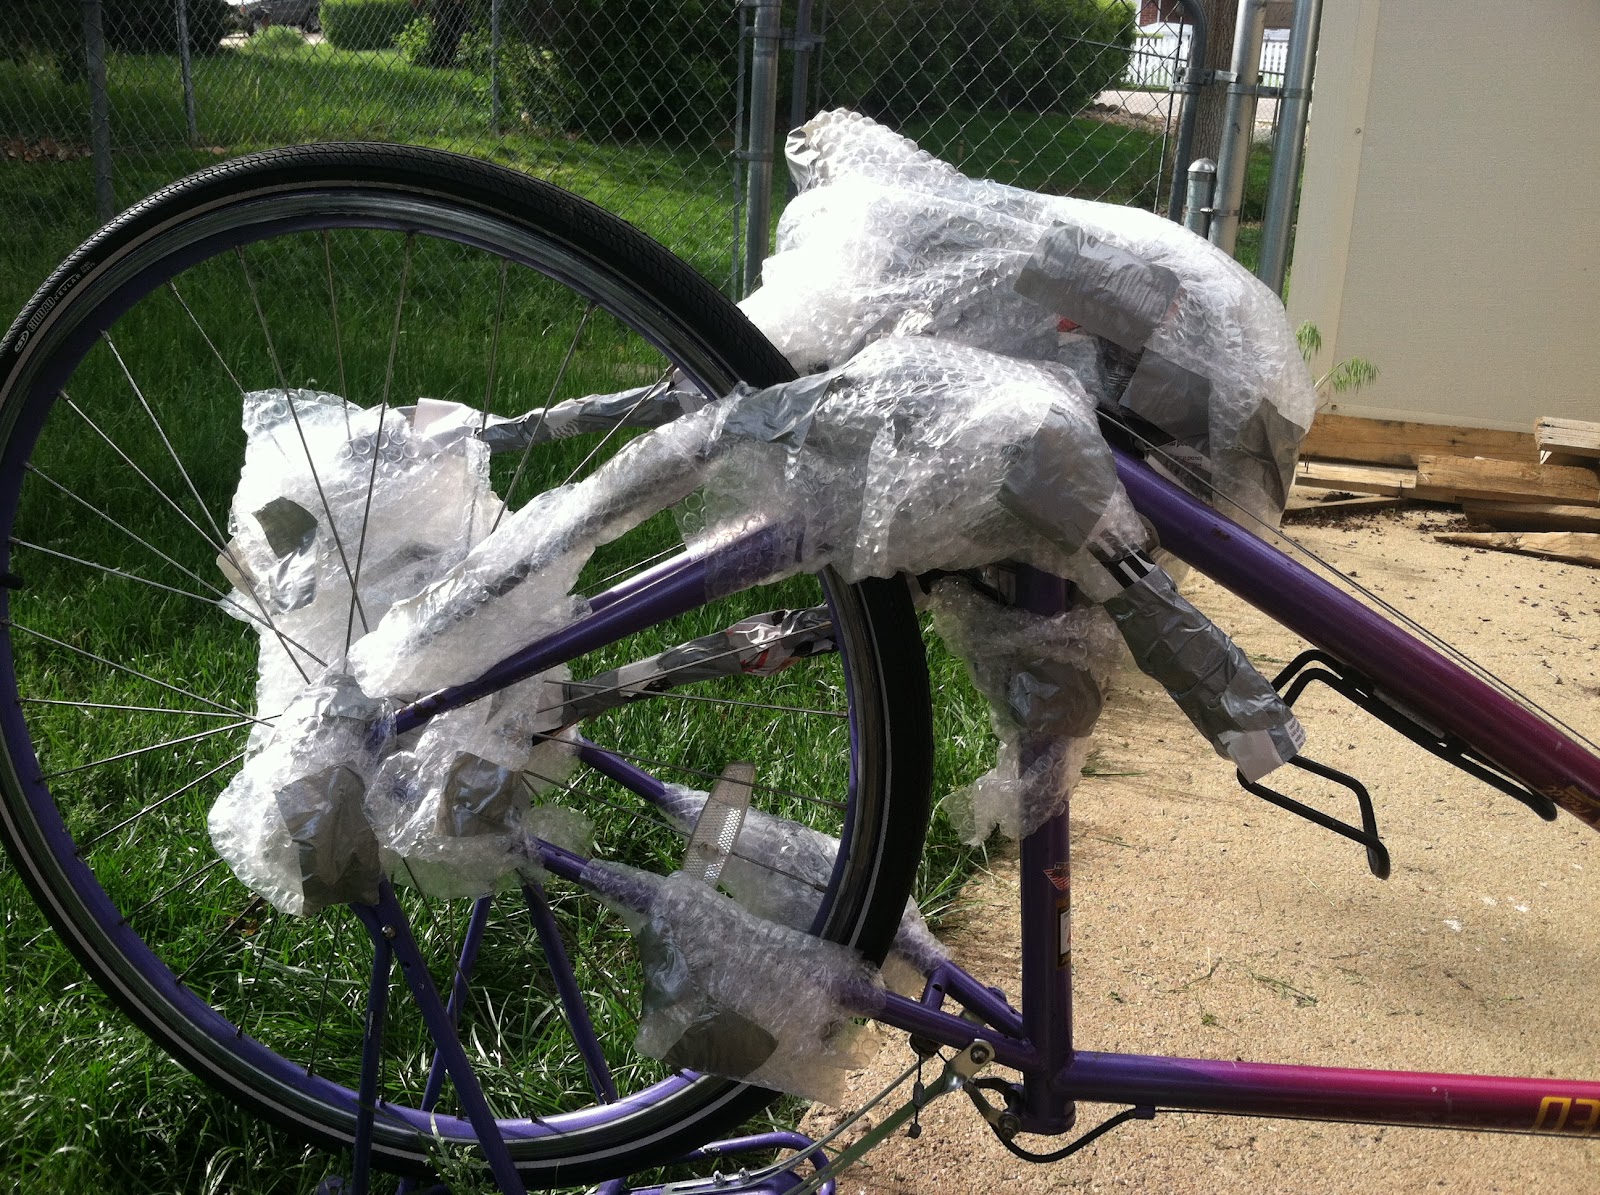
- Bubble Wrap Everything
Now you need to wrap everything up so it doesn’t get damaged from being carelessly handled at the airport. In this case, there’s no such thing as too much bubble wrap. Wrap up anything that looks like it could be damaged easily or anything that could puncture a hole in the box.
- Box Up Everything
Now you can put everything into the box. Put the bike frame (with the rear tire still attached) in first, since it’s the biggest. You should be able to leave the
bike rack attached, but you might have to take it off if it’s too big. Next, find somewhere to put the front tire. Now you can squeeze the handlebars in. The seat post should fit easily. If there is any loose bolts or small pieces, put them in a Ziploc and tape them to the frame. It’s also a good idea to put your helmet in the box too, so you don’t have to carry it around the airport.
Tape up the box and you are all set. Don’t forget to write your name and phone number on the box in case it gets lost.
