
By: Brad McNally
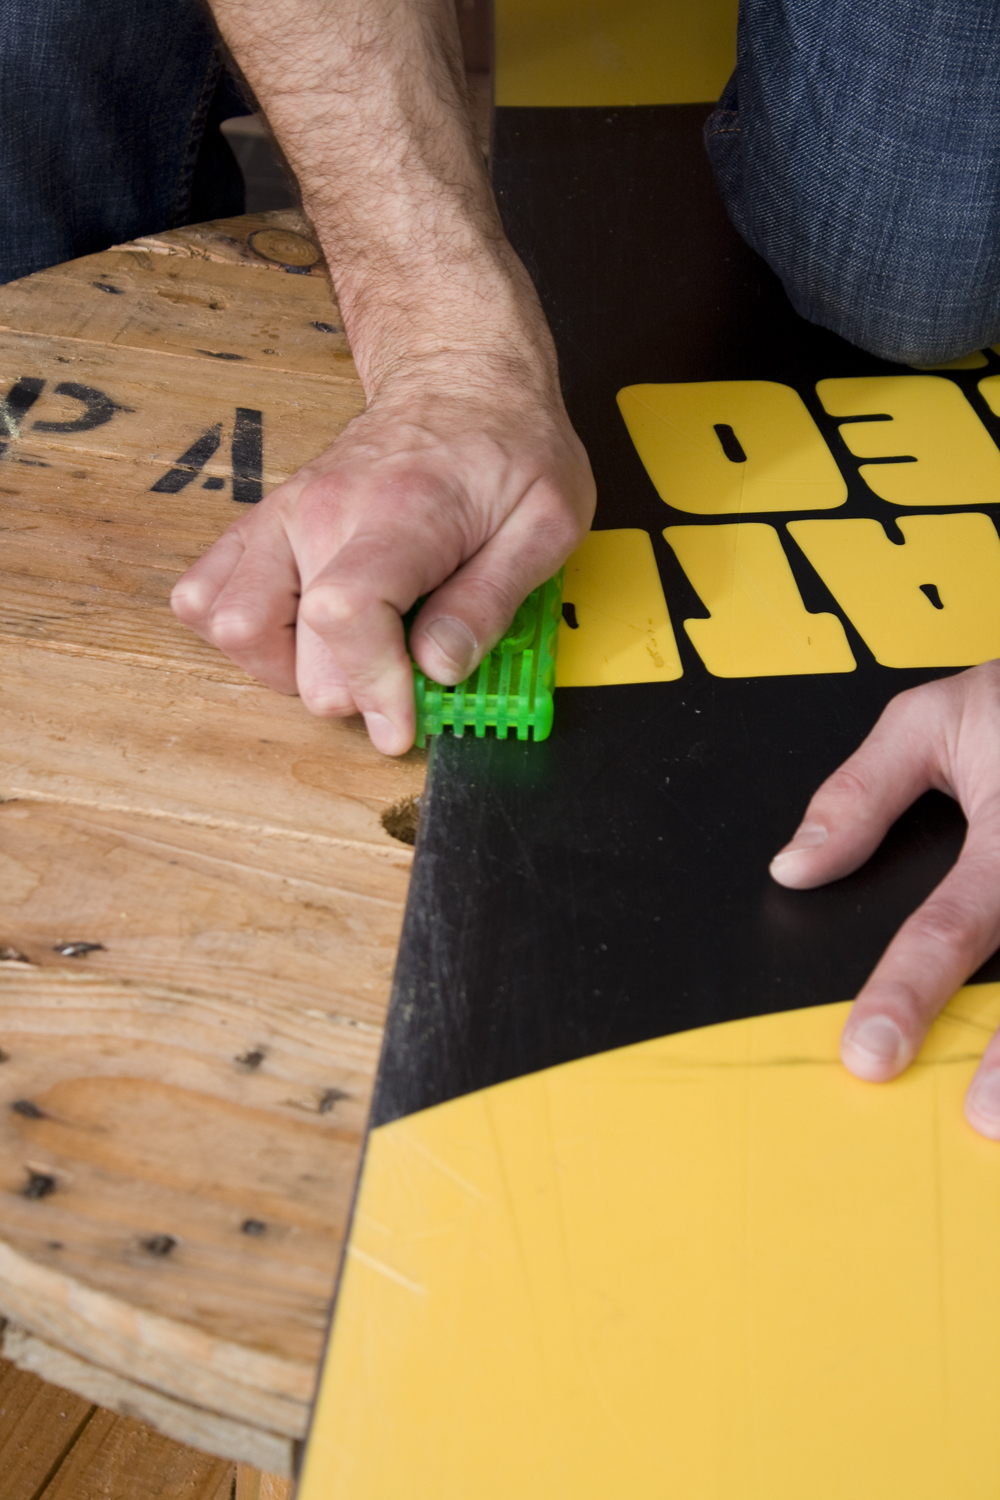 |
| photo: nonstopsnow.com |
Now that you’ve learned to fix your snowboard base and wax your snowboard at home, know that there is other basic snowboard maintenance you can perform yourself. Sharpening your edges will help your snowboard perform better. This is a small adjustment that can make a world of difference in how your board grips the snow as you carve. Basically, you will be sharpening the edges to a specific angle where you want to board to grip the snow better and detuning (or dulling) the edges that you don’t want to catch. According to ABC-of-snowboarding, edge maintenance should be done after each day of riding.
This is done before you wax but after you remove your bindings. You can will need to use a file guide with your edge file to make sure that you are creating the correct angle on your edge. Before you do this part (and especially if you are new to it), take a marker and put a strip of color along the entire edge that you will be filing. The goal of marking is to make sure you get each part of the edge sharpened, not just a section or two. The edges can be 90 degrees, 89 degrees, or 88 degrees. The lower the number, the more grip that the edge will create. The creation of an angle on the edge is called beveling. There are two surfaces that you can sharpen: the base and the side.
Generally, the more you bevel the side edge, the more the board will grip in the turn. That gives you more control. There are specific instances that you would want to bevel the base edge. If you're going to be shredding in snow that is soft and powdery, or if the snowboard is hard to turn, bevel the side edge a degree or two (89 or 88). If the snow will be packed hard or icy, do just the side edge a degree or two. If there is not enough bite altogether, bevel both edges so that they create a 90-degree angle.
Now that you know the angle needed, make sure that the edges are dry and clean. Put your file into the guide and begin with the base edge. Work from tip to tail and apply pressure to scrape the metal off. This should take two or three passes. Next, do the same to the side edge.
Use a diamond stone to remove any shards left over on the rail. Use a gummy stone to really make the metal shine, then run a rag over the edges again.
You may want to detune some edges, though. The reason to do this is that you don’t want certain areas to catch in a turn. If they do, it can lead to a wipeout. After you’ve finished beveling your edges, use a flat file to round out about an inch at the end of the effective edge. This is where the board turns up at the tip and tail on each side. When you are finished, use your gummy stone again on these areas.
Visit: www.StoreYourBoard.com