FREE Standard Shipping on Orders Over $75

Racks and Accessories to Organize, Store, and Display Your Boards & Gear

Showing posts with label snowboards. Show all posts

Friday, March 13, 2015

The Cinch - The Simple Snowboard Wall Mount

The Cinch is an ultra-affordable way to store and display your snowboard. The Cinch is also probably the easiest snowboard wall mount to install requiring only two wood screws! If you’re on a budget, but want a cool and convenient way to show off your shred stick, then the Cinch has got your covered.


Design:
The Cinch works by taking advantage of the hourglass shape of your snowboard - narrow in the middle and wider at the tips and tails. The Cinch uses two abrasion-resistant SBR rubber bumpers to hold your board in place. By spacing the bumpers such that they are wide enough to get the center (narrow) part of your board through, but narrow enough that the tips and tails (wide) part of your board can’t get through, it effectively “cinches” the board in place! This makes taking your board in and out of the rack super easy - you basically just let gravity do all the work.

Sunday, January 25, 2015

Snowboard Terrain Park - Rules to Ride By


For many snowboarders the terrain park is the place to be when you are out on the mountain. If you’ve been in it, you likely know exactly why. If you’ve never been through it, it might seem intimidating or even just plain scary. Knowing what you are getting into is important, but so is knowing how to behave when you are there as well. There are unspoken rules in every sport, but it generally boils down to some basic things. Here are some tips to help you stay on the good side of those you are sharing the park with.

Joey for park page.jpg
image: bluewood.com/terrain-parks

Wednesday, December 24, 2014

Riding the Plank | Snowboard Jumps | Flight = Freedom

snowboard jumpsBy: Brian Negele


Learning how to do a proper heel turn, a toe turn, carve...then, finally carving at high speeds, is just the obvious progression in boarding. What really breaks the gap between that and bigger and better things? Well... that would be jumping!


Monday, December 8, 2014

Home Guide to Sharpening Snowboard Edges | Tune Your Snowboard's Angles


photo: nonstopsnow.com
Now that you’ve learned to fix your snowboard base and wax your snowboard at home, know that there is other basic snowboard maintenance you can perform yourself. Sharpening your edges will help your snowboard perform better. This is a small adjustment that can make a world of difference in how your board grips the snow as you carve. Basically, you will be sharpening the edges to a specific angle where you want to board to grip the snow better and detuning (or dulling) the edges that you don’t want to catch. According to ABC-of-snowboarding, edge maintenance should be done after each day of riding.

This is done before you wax but after you remove your bindings. You can will need to use a file guide with your edge file to make sure that you are creating the correct angle on your edge. Before you do this part (and especially if you are new to it), take a marker and put a strip of color along the entire edge that you will be filing. The goal of marking is to make sure you get each part of the edge sharpened, not just a section or two. The edges can be 90 degrees, 89 degrees, or 88 degrees. The lower the number, the more grip that the edge will create. The creation of an angle on the edge is called beveling. There are two surfaces that you can sharpen: the base and the side.

Monday, October 27, 2014

Snowboard Types and Shapes | Choosing the Right Snowboard


One of the biggest mistakes that new snowboarders make is to use a board that is the wrong size or shape for what their riding intention. Much like a bicycle, the snowboard can be designed for specific purposes and specific sizes. While you can use any snowboard if you like, it isn’t always the most effective. To stick to the bike analogy, this would be like buying a nice road bike and taking it out on dirt trails through the woods -- it might make it, but it probably won’t be the best ride.
Snowboard Twin vs. Directional Shape
image: windwardboardshop.com


Monday, March 31, 2014

5 Offseason Snowboard Maintenance Tips


It is easy enough curse at the spring and toss your precious snowboard into the garage, but with a little bit of effort upfront you can get a jumpstart on next season because your board will already be ready. Taking care of some maintenance items now means you can be sure your board will be in the best shape possible for the upcoming season and the full life of your board can be extended as much as possible. 

12.jpg

Here are 5 things you can do this offseason to be sure that your snowboard is in the best shape possible when the first powder hits this winter:

Saturday, October 13, 2012

Snowboarding | Some Tips For Beginners


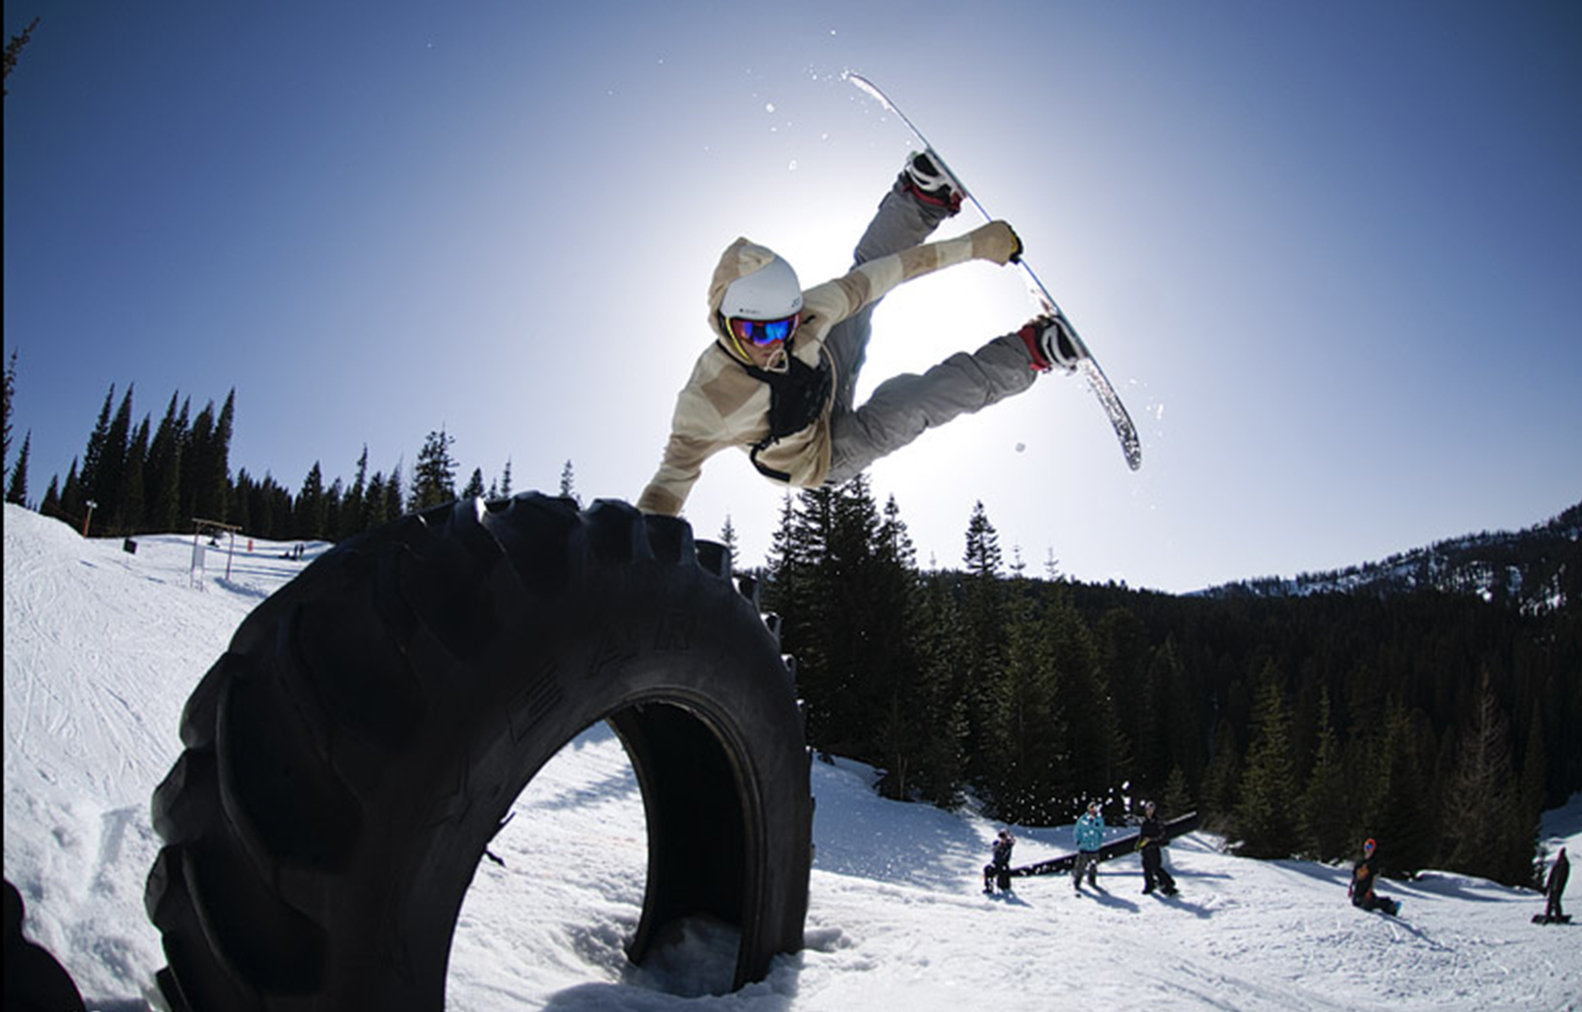
The season is changing and powder season is right around the corner! I know some of you water-sport lovers are disappointed since winter means no more glassy sessions, but fulfill your board sport need by picking up SNOWBOARDING! Don’t know how? Try some of these tips for beginner snowboarders.

What you’ll need:
Snowboard
Snowboarding boots
Snowboarding pants
Snowboarding jacket
Gloves
Hat
Goggles (because everyone loves a sick goggle                 tan)

Wear protective gear! Learning to snowboard is no easy task and falling is a HUGE part of the learning process. I recommend wearing butt pads (you’ll thank me later), wrist guards and a helmet. Don’t worry about looking cool or goofy; you’ll fit right in.

Sign up for lessons. This is probably the most efficient way to learn the basic techniques of snowboarding. The instructors are seasoned riders and will take the time to teach students how to fall properly (because it will happen), stand, move, heel and toe turns, carve—everything a snowboarder needs to know to have a successful run. Lessons are also given at different stages. So if you’re not a beginner but feeling a little rusty try an intermediate level to get back in the swing of things.

“Skat Around” Before taking on the slopes, start with only one foot being buckled into the snowboard and the other out free. This is a great way to test your balance and get the feeling of snowboarding by practicing on flat areas without being locked in to the board.

Start at the bunny hill. TRUST ME. When I first learned to snowboard way back when, my now brother-in-law was gracious enough to teach me the basics of snowboarding. Little did we know that the bunny hill was located on the other side of the mountain and the only way to get there was by snowboarding down a beginner trail. With a few pointers as to how to try to stay balanced, he took off down the trail and I tried to follow. Needless to say, I had a rough go of it and ended up walking half of it; therefore the bunny hill is your best option.


The best way to learn is by doing; the more you ride the slopes and keep getting up after you fall the more you will learn. Snowboarding isn’t easy and it can be frustrating if you don’t naturally pick it up, but the rewards and rush you have riding down the mountain is one of the best feelings. So if you feel like you’re struggling, just keep trying because it will be worth it in the end.

For more tips on learning how to snowboard, check out CustomSkis.com.
Ride On,
      Colleen