
By: Brad McNally
It wasn’t that long ago that mounting a camera on a snowboard seemed like a wild idea. Now you can hardly walk through the lodge without seeing these little devices hanging around. GoPro may be the go to camera for most action sports, but there are many options. Once the model started working, finding new and innovative ways to use these seemed like a great idea, but unfortunately many people struggle to get really great video consistently. While there may be a laundry list of reasons why your footage didn’t turn out the way you expected, but here are some ways to get higher quality video from your little camera of choice.
 |
| image: mtbr.com |
1. Reconsider the helmet mount
2. Get creative
3. Add accessories
4. Utilize your friends
There is no denying that the GoPro and other action cameras have made a huge impact on the sport of snowboarding. The ability to share your ride with your friends long after you’ve left the slopes is something that was previously only available to those with extremely expensive professional equipment. Now that anyone can pick up a (relatively) cheap camera and start filming, make sure you are filming something worth watching later on.
The first thing many people do is mount their camera on the front of the helmet. This makes sense because it gives you a view similar to what you would see from your own eyes, but the height difference can cause an issue. Many boarders aim the camera at a downward angle, but it isn’t far enough to catch the front of the board. This leaves very little for the viewer to see other than snow moving along. Cyclists often have the same issue; a helmet cam on top can give the perception of a disembodied camera floating along. After doing this once, though, many rule out the helmet altogether. If you are wearing a full face helmet, consider mounting the camera upside down on the lower part of the front, closer to the mouth and neckline. This can give you a more dynamic view and may work out better. If that isn’t possible, consider a chest mount.
2. Get creative
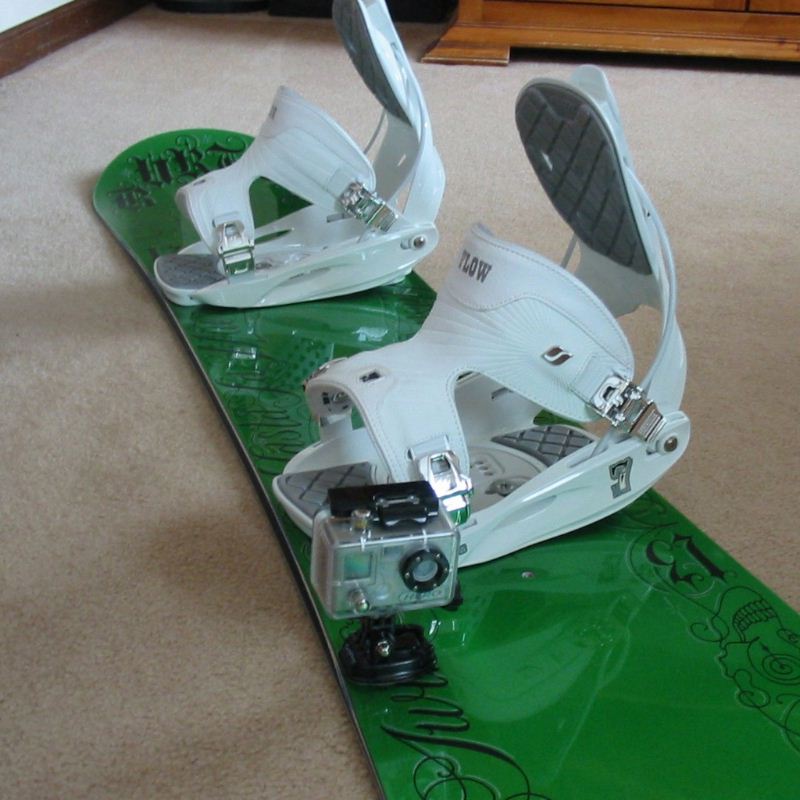
Instead of mounting directly on your helmet, consider a leg mount or arm mount. Another option could be to mount the camera just above the boot for a low angle that will emphasize your speed. There are no rules about what you could do, so you could find any number of ways to create a better mount. Mount the camera on the tip of your board angled up toward you for a different perspective. Using multiple cameras and editing the footage together after your board is home and up on display is also a way to get a new perspective.
3. Add accessories
Many cameras come with a handful of mounts, but both custom and branded accessories are available. You can build your own mounts out of a few pieces picked up at the local hardware, but snowboarding has a unique advantage over other action sports: your hands are empty in general. Mount your camera on a pole and you can direct it in front of you as you head down the mountain. When you start to grind or head off of a big jump, stick that arm and pole out if you can. This is a unique angle that you don’t get otherwise.
4. Utilize your friends
You can use multiple cameras on alternating runs to create really unique clips. One rider could mount a camera and follow close behind the other to create a chase scene. Something that can give you an interesting view is to have one person go on down the mountain and stop just beyond the sight line, turn around, then film the next person coming. You can alternate back and forth multiple times during the trip down, picking spots that would make interesting clips for video stops.
There is no denying that the GoPro and other action cameras have made a huge impact on the sport of snowboarding. The ability to share your ride with your friends long after you’ve left the slopes is something that was previously only available to those with extremely expensive professional equipment. Now that anyone can pick up a (relatively) cheap camera and start filming, make sure you are filming something worth watching later on.