
If you start biking regularly, you are going to pop your tube every now and then. It’s good to learn how to patch it yourself, otherwise you will be stuck going to the bike shop and buying a new tube every time there’s a leak. It takes some practice, but it gets easier every time you patch a tube.

First of all, let me explain what a tube is. The tube goes on the wheel of your bike, under the tire. The tube is part that gets inflated. The tire protects the tube from rocks, glass, and other debris on the road. When debris slips inside of the tire, it punctures the tube and deflates it. And that’s how you end up needing to patch it.
 To patch a tube, you are going to need a few tools:
- A wrench (must fit the bolts on the wheels)
- A bike pump
- Sandpaper
- Rubber cement
- Patches
Here are the steps to changing your tube:
1. Flip your bike upside down or hang it on a standing bike rack, so you can work on it more easily.
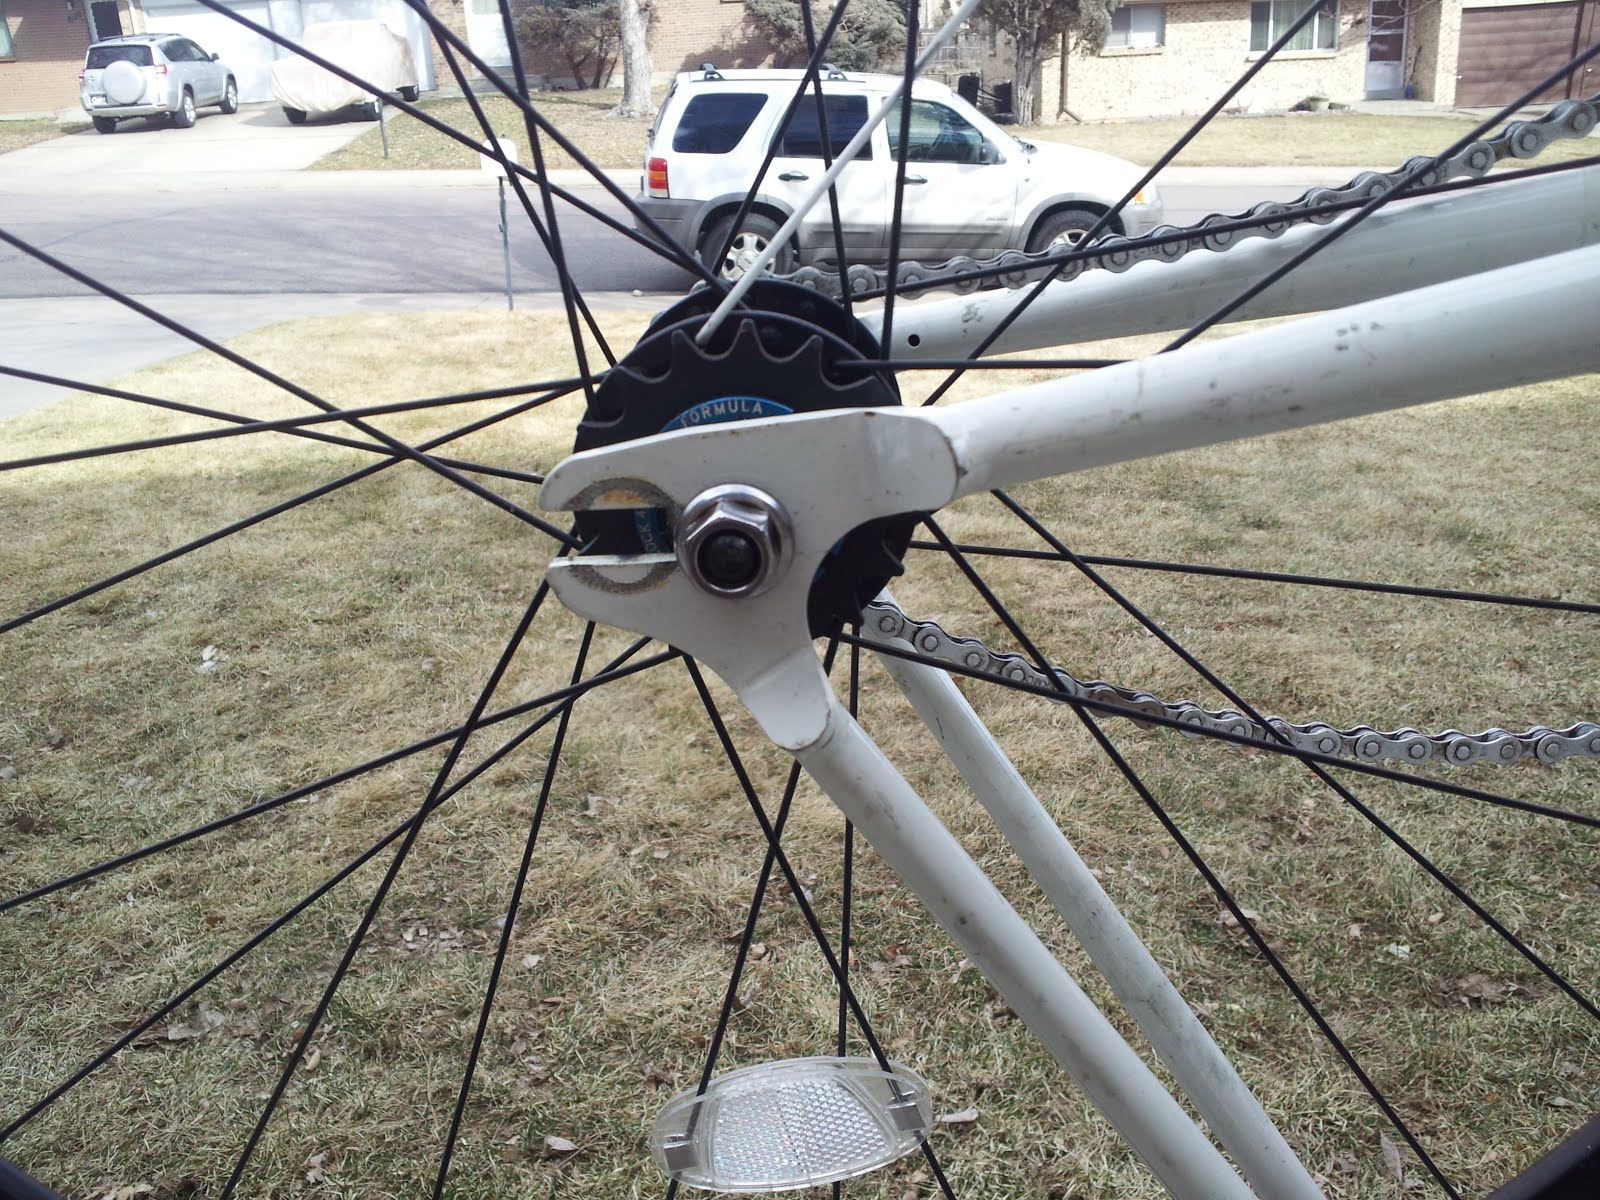
2. Use a wrench to loosen the bolts on the wheel, so you can take it off of the frame.

3. Next you need to pop one side of the tire off of the rim. Use two tire levers. Wedge the first lever under the tire, and leave it there. Wedge the second lever under the tire, right next to the first lever. Slide the second lever around the edge of the rim while holding the lever under the tire. The edge of the tire will pop off as you work your way around the rim.

4. Now you need to get the tube out from under the tire. The valve is attached to the tube, so it’s easiest if you start by wedging the valve out. From there you can gently pull the rest of the tube out.

5. Use the bike pump to inflate the tube.
6. Carefully inspect the tube to find the leak. If you can’t spot the hole with your eyes, try pressing the tube to your cheek so you can feel where air is leaking out. If you still can’t find the leak, submerge the tube in a sink full of water. There will be a stream of bubbles coming out of the hole.
7. Once you have found the hole, it’s time to start patching. First, use the sandpaper on the area of the tube around the hole. This will help the glue stick. Just sand it a little bit.
8. Next, cover the area in rubber cement glue. Let it dry for about two minutes, or until the glue looks matte.

9. After the glue is dry, you can apply the patch. Peel the foil off of the bottom, then put the patch over the hole. Hold it there for a minute or so.
10. Now you can start assembling your bike. Inflate the tube with the bike pump. It will be easier to get the tube back under the tire if it is inflated a little.
11. Start with the valve again. Wedge the valve back under the tire into the valve hole.
12. Use your thumbs to carefully wedge the tube back under the tire. Go all the way around the rim and do this. You may have to let some air out of the tube when you’re almost done.
13. Now you have to get the edge of the tire back into the rim. Use your thumbs to tuck the tire back in.
14. Put the tire back onto the bike frame. If it’s the back tire, put the chain back on. Use the wrench to tighten the bolts.
15. Use the bike pump to inflate the tube, and you’re done and ready to ride!
Visit: www.StoreYourBoard.com